Overview
| Contents
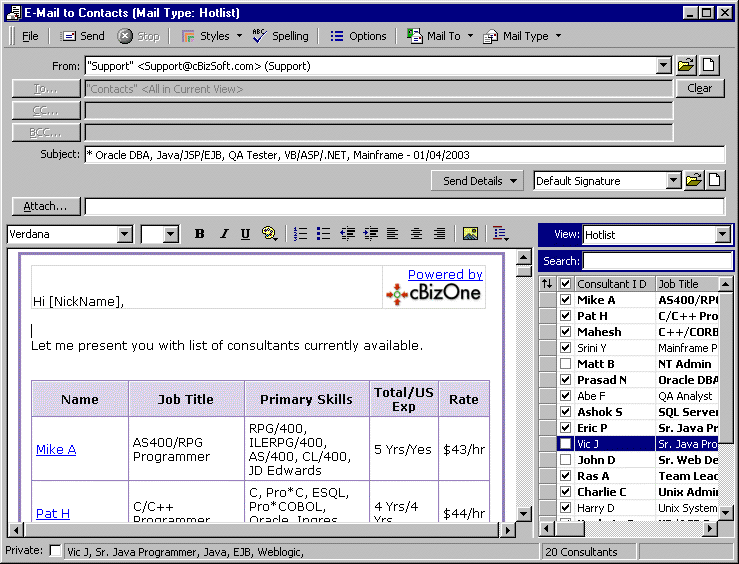
Send Hotlist:
Hotlist is composed
automatically, of all the available Consultants. The Hotlist
EMail is composed with all the required information, which can be
modified before sending the mail. Hotlist can be sent either
'personalized' or 'bulk' to all your Contacts (whose Send
Hotlist is checked) in the current view. Make sure you
are in the Phone Book View
before sending. Hotlist can also be sent to only
one Contact.
Sending Hotlist to all your
Contacts (Personalized)
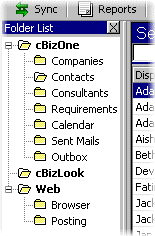
- Click Contacts on the Folder
List to open Contacts.
- On EMail menu, click Hotlist... to show Hotlist
EMail Window.
- Open the dropdown list of the Styles Button and select the desired style.
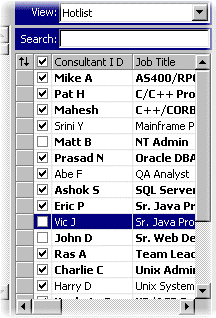
- You can exclude one or more consultants from the Hotlist, by
un-checking in the consultant
list.
- Open the dropdown list of Send Details Button
 and select the desired Hotlist content.
- Click Send button, to queue your Hotlist into Outbox
Folder. After queuing, cBizOne starts sending Hotlist
to each Contact, whose 'Send Hotlist' is checked.
- Click on Outbox Folder in the Folder
List to see the status of the Hotlist EMail.
Sending Hotlist to all your
Contacts (Bulk)
Sending 'Bulk' is significantly faster than sending
'Personalized'. But there are some disadvantages in using
'Bulk' (see Bounce Wizard in cBizLook)
- Click Contacts on the Folder
List to open Contacts.
- On EMail menu, click Hotlist... to show Hotlist
EMail Window.
- Open the dropdown list of the Styles Button and select the desired style.
- You can exclude one or more consultants from the Hotlist, by
un-checking in the consultant
list.
- Open the dropdown list of Send Details Button
and select the desired Hotlist content.
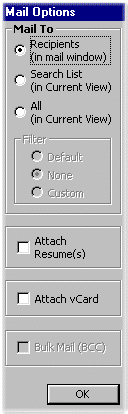
- Click Options button, to show EMail
options window.
- In the EMail options window, check Bulk Mail and then click
on OK Button.
- Click Send button, to queue your Hotlist into Outbox
Folder. After queuing, cBizOne starts sending Hotlist
to each Contact, whose 'Send Hotlist' is checked.
- Click on Outbox Folder in the Folder
List to see the status of the Hotlist EMail.
Sending Hotlist to one Contact
- Click Contacts on the Folder
List to open Contacts.
- If the Contact is not visible, search
the Contact.
- Select the Contact by clicking on the contact.
- On EMail menu, click Hotlist... to show Hotlist
EMail Window.
- Open the dropdown list of the Styles Button and select the desired style.
- You can exclude one or more consultants from the Hotlist, by
un-checking in the consultant
list.
- Open the dropdown list of Send Details Button
and select the desired Hotlist content.
- Click Options button, to show EMail
options window.
- In the EMail options window, select Recipients in the Mail
Window in Mail To options, and then click OK Button.
- Click Send button, to queue your Hotlist into Outbox
Folder.
Note: Styles are based on XML/XSL. You can create
new styles and/or customize existing styles to
suit your needs. Since this is beyond the scope of this
tutorial, please contact our support
team or visit http://www.w3schools.com
|
|
